Printing the first lithophane cube
Five photos, five white plates and an orange frame — what it took to get the first cube from Lithophane Cube Maker off the printer and assembled, and the fix I shipped and then took back.
A lithophane is a picture made of thickness. Print a thin plate in white plastic, thick where the photo is dark and thin where it is light, and it looks like nothing at all until a light goes on behind it.
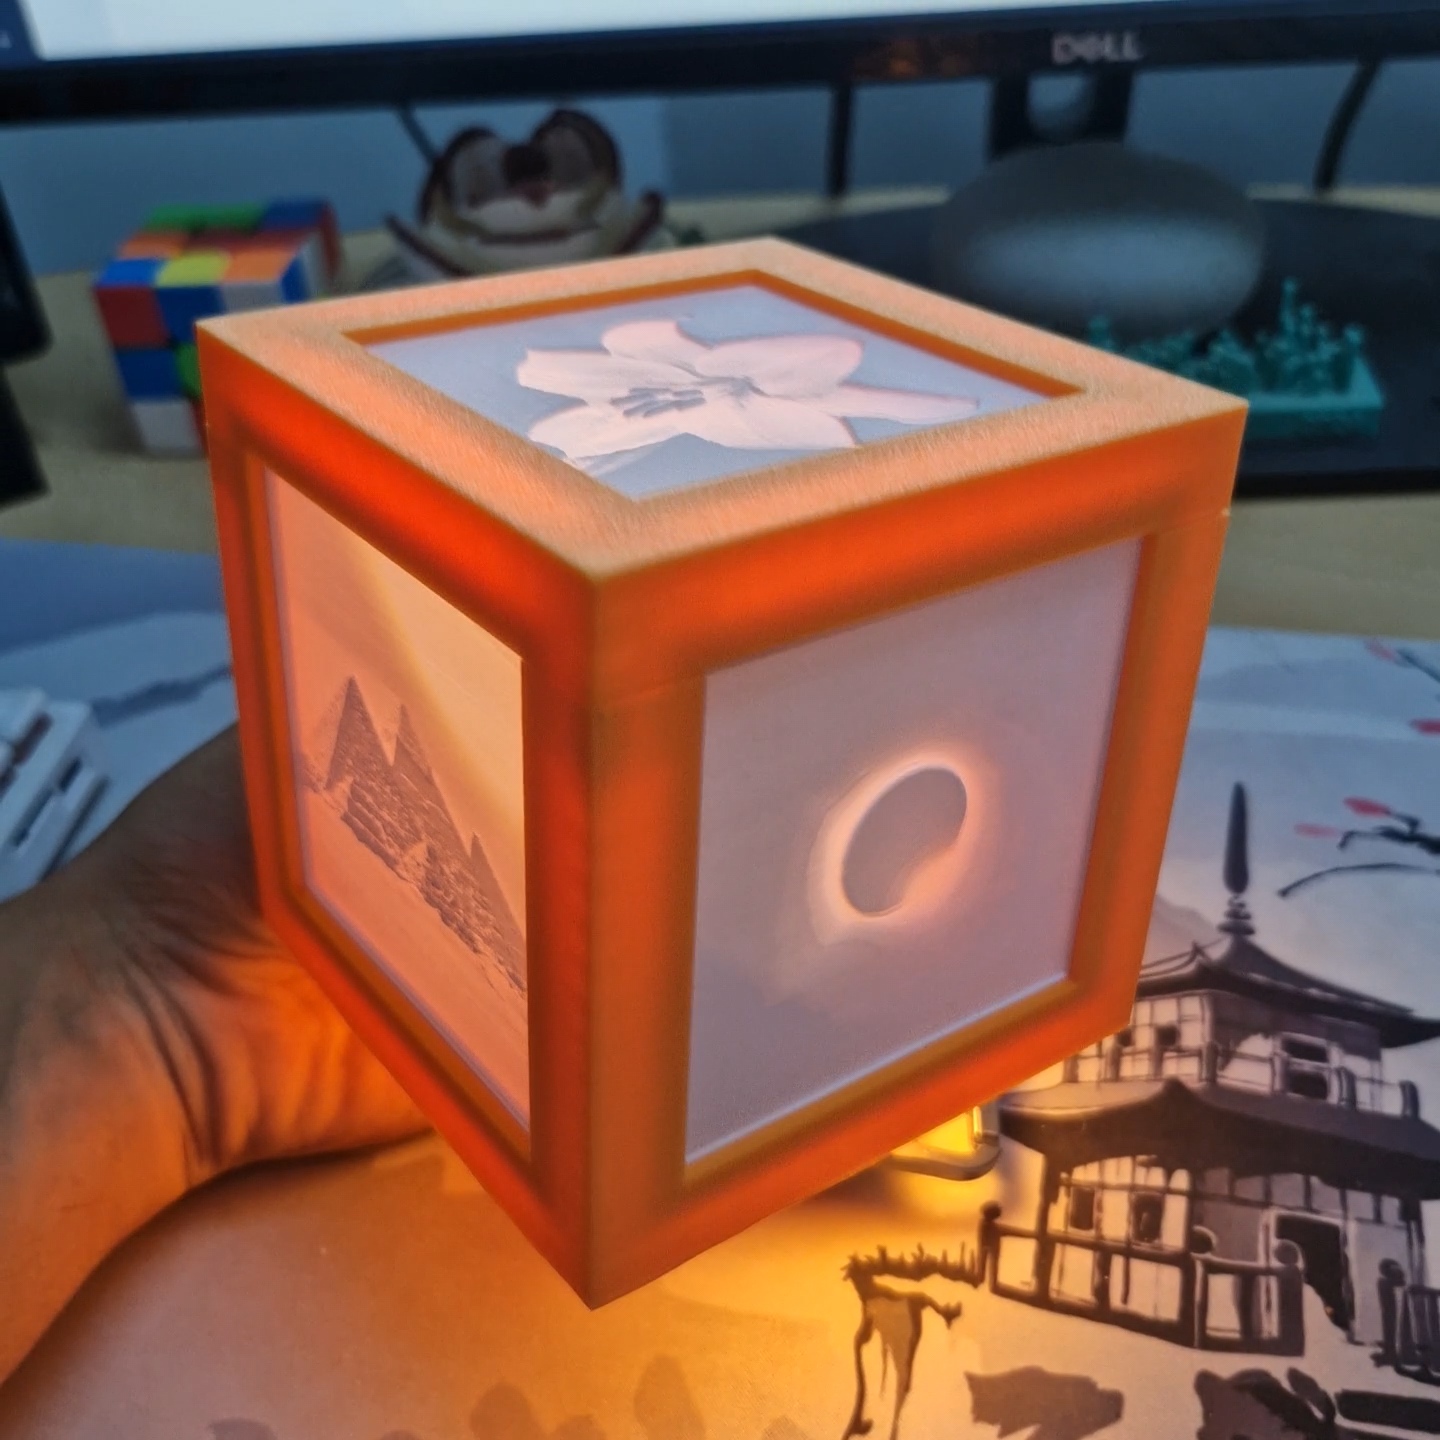
This one is a lamp: four sides and a top, held in a frame with a light inside. I built Lithophane Cube Maker to make it. You give it five photos and a size, and it hands back every part ready to slice — the frame, a lid, and the five plates. All of it runs in the browser, so the photos never leave your computer.
Why five sides
The best-known lithophane box generator stopped at four sides when I started this, and the top it has added since sits behind a payment. The top is the panel you see first when a lamp sits on a desk, and it was the one I wanted most. So every panel here is free, and so is everything else.
The fifth panel also turned out to be the hardest part of the design. Side panels slide down grooves in the corner posts and are held on all four edges. A top panel has nothing to slide into. In the end it is the same square as the sides, resting on four small supports at the inside corners, and the lid traps it from above. Five identical panels, every face framed alike.
A day per attempt
A cube this size takes most of a day to print, and a failed one costs another day and another spool. That shaped the tool more than any feature did.
The fits that depend on your printer — how tightly a panel slides into its groove, how firmly the lid grips the posts — are not guessed. The tool cuts small test pieces out of the real parts: the bottom of a corner post with a strip of panel border, the top of a post with one corner of the lid. It prints five of each side by side at different clearances, told apart by engraved dots. An hour of printing answers what a failed cube would have.
Behind that, the geometry is checked before anyone prints it. The tests build the whole cube for thousands of random combinations of settings, and fail on any part that comes out leaking, overlapping another, or impossible to put together.
The first cube
I printed the frame, the lid and one panel first. They went together, but only with real force, and one of the lid’s pegs snapped off.
The obvious reading was that the small test pieces had lied. A panel slides along 81 mm of groove in the real frame instead of 15 mm in a test piece, and the lid has to seat four pegs at once instead of one. So I loosened both clearances by one step, 0.05 mm, wrote it into the guide, and shipped it as a release.
Then the other four panels came off the printer, and every one of them slid into its groove at the old clearance without any trouble.
The groove had never been the problem. The first panel was the problem. Peeling the brim off a plate leaves a thin ridge along its bottom edge, and the first few layers bulge out slightly. Either is enough to make a panel bind in a groove that fits it perfectly otherwise. The later plates simply printed cleaner.
The peg had a different cause. The four corner posts are tall and thin, and once printed they lean outward a little. With the posts leaning, every time the lid went on its pegs entered their holes at an angle, and I put that lid on and took it off again and again while checking the fit. Each time levered the pegs sideways, which is exactly where a vertically printed peg is weakest: across its layer lines. With the posts gently pushed upright first, everything came together.
So the next release took the change back. The defaults are again the values the test pieces chose, the ones the whole cube actually went together with. What changed instead is what you do at the bench:
- Deburr every panel edge after peeling the brim. This matters more than any clearance setting.
- Push the posts upright before the lid goes on, and press it straight down. The panels pull the posts straight once they are all in.
- Take the lid on and off as little as you can.
The pegs also got a longer, gentler taper at their tips, so a peg that arrives a little off-centre is guided into its hole instead of catching on the rim.
The lesson I keep is about evidence rather than plastic. One stiff panel was one data point, and I changed a default on it the same day. Waiting for the other four would have cost nothing, since they were already printing.
Make one
Lithophane Cube Maker is free, needs no account, and is open source under the MIT licence at ahmedsaed/lithophane-maker. The printing guide walks through tuning the printer, the test pieces, the lithophane settings and assembly.
If you print one, I would like to hear how it went — especially if your printer needed different clearances from mine. That is the one thing the tests cannot check.